
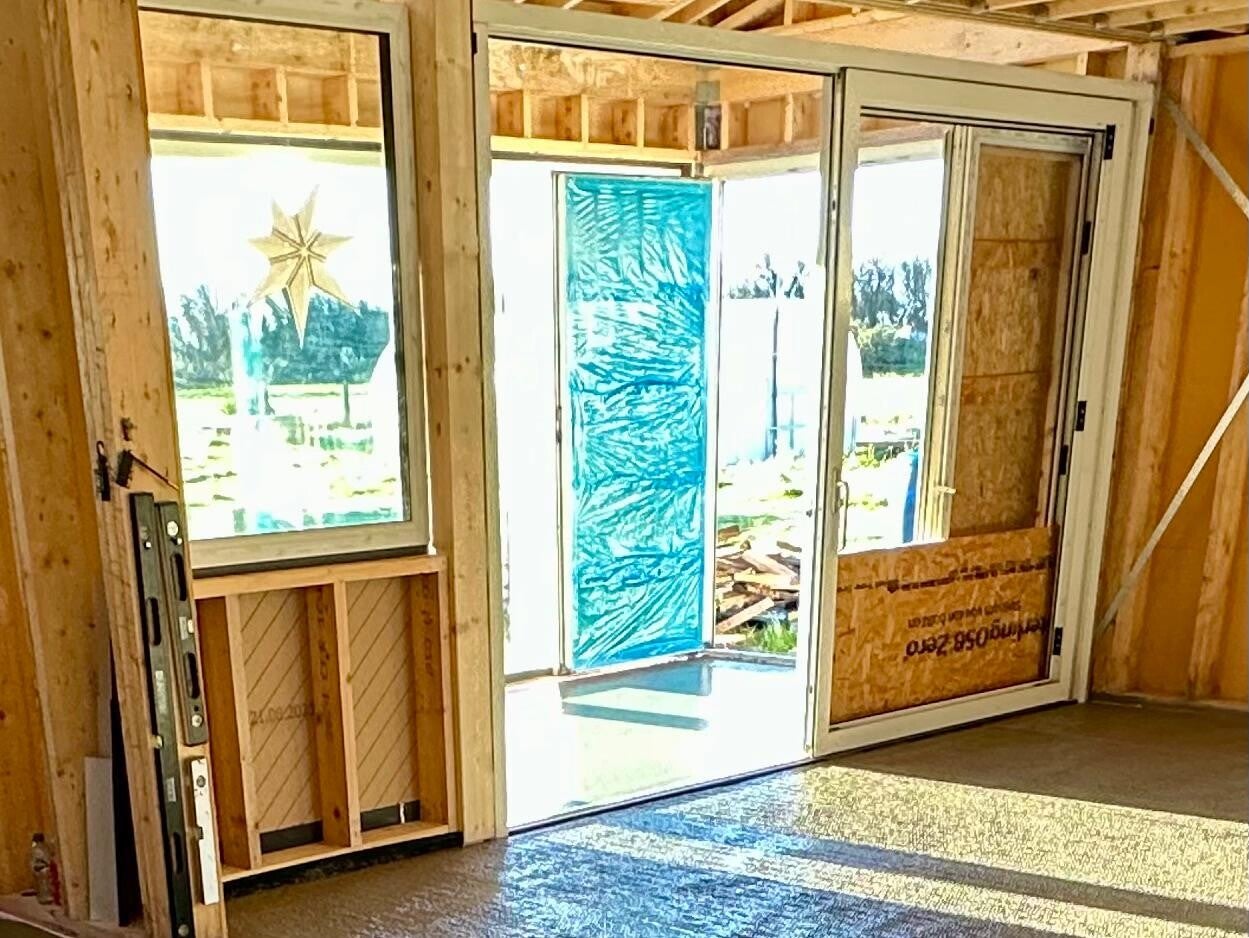
Some impressions from recent installation of a Triotherm door upstand for a slider
We’re excited to share more details about the installation process of a Triotherm insulated door upstand for a sliding door, recently used in our own retrofit project. Since most sliding doors come with a frame depth exceeding 125mm, you may need to extend the standard Triotherm+ profile by incorporating a structural insulation board upright or even by using two rows of Triotherm+ for optimal results.
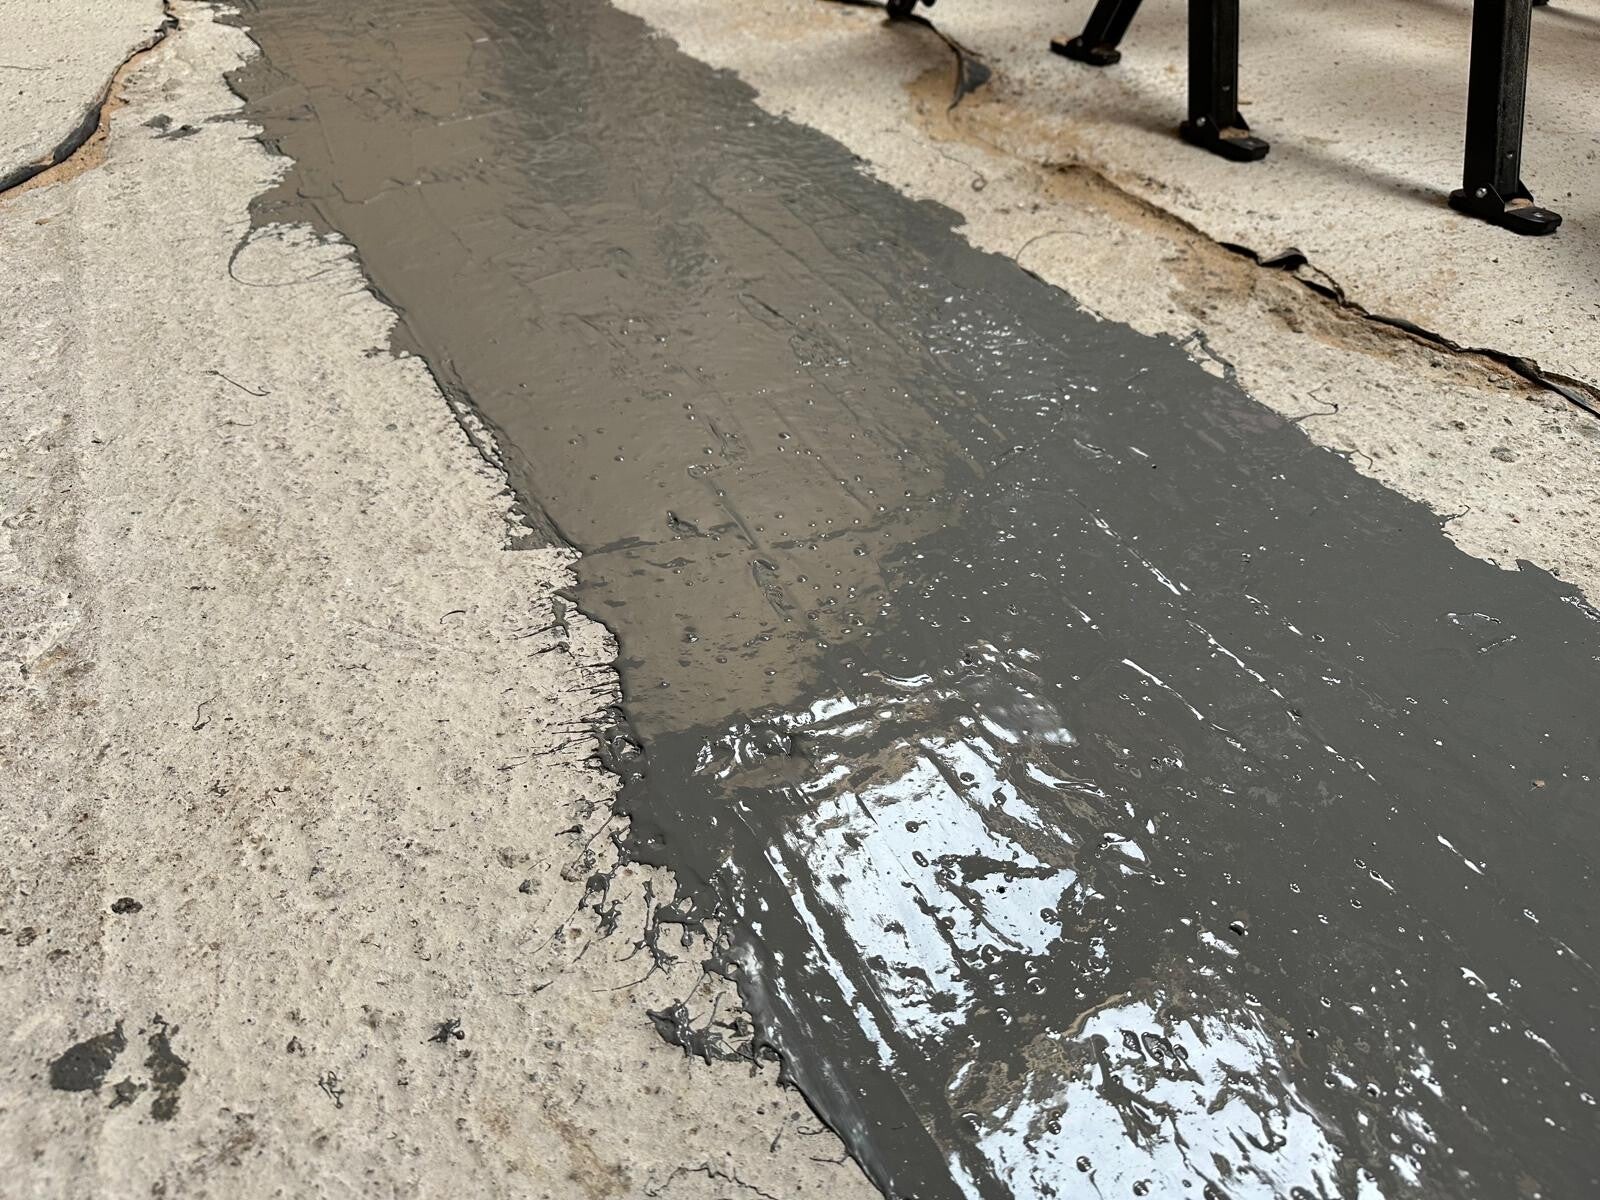
The floor area below the door upstand has been tanked prior the upstand installation, to create a functional Radon protection strategy around the door upstand.

As the upstand has been made of various Triotherm structural boards, the parts were lined up first.
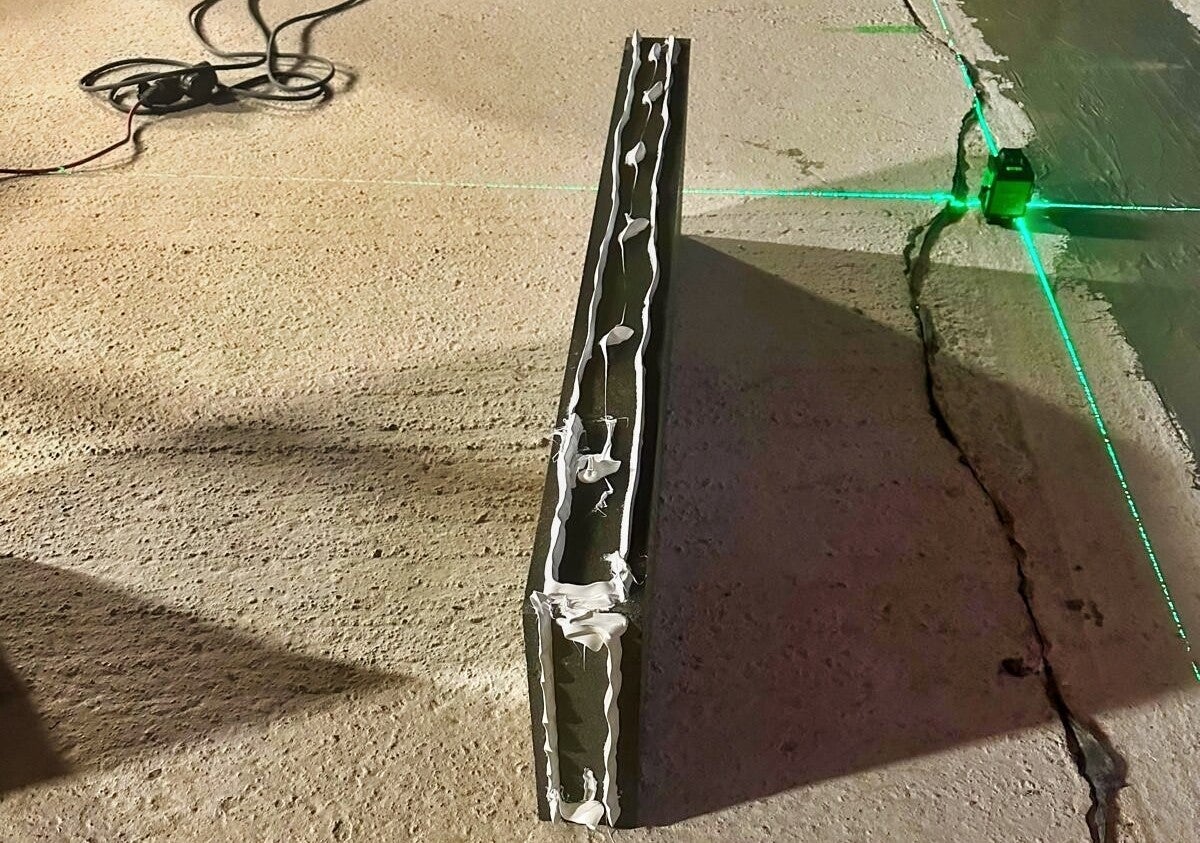
Each Triotherm profile has been glued down to the subfloor by using Power Fix Adhesive. Interlockings or blunt joints need to be glued as well.
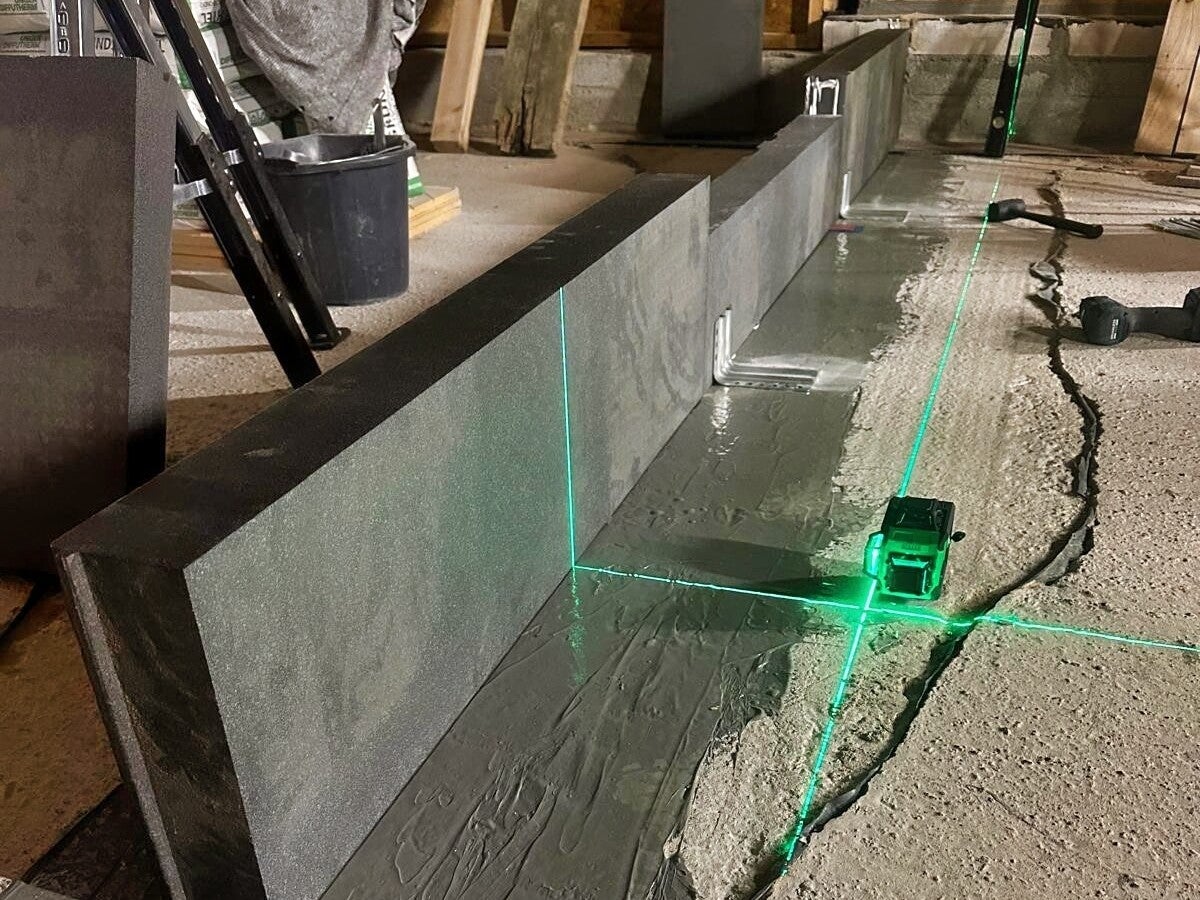
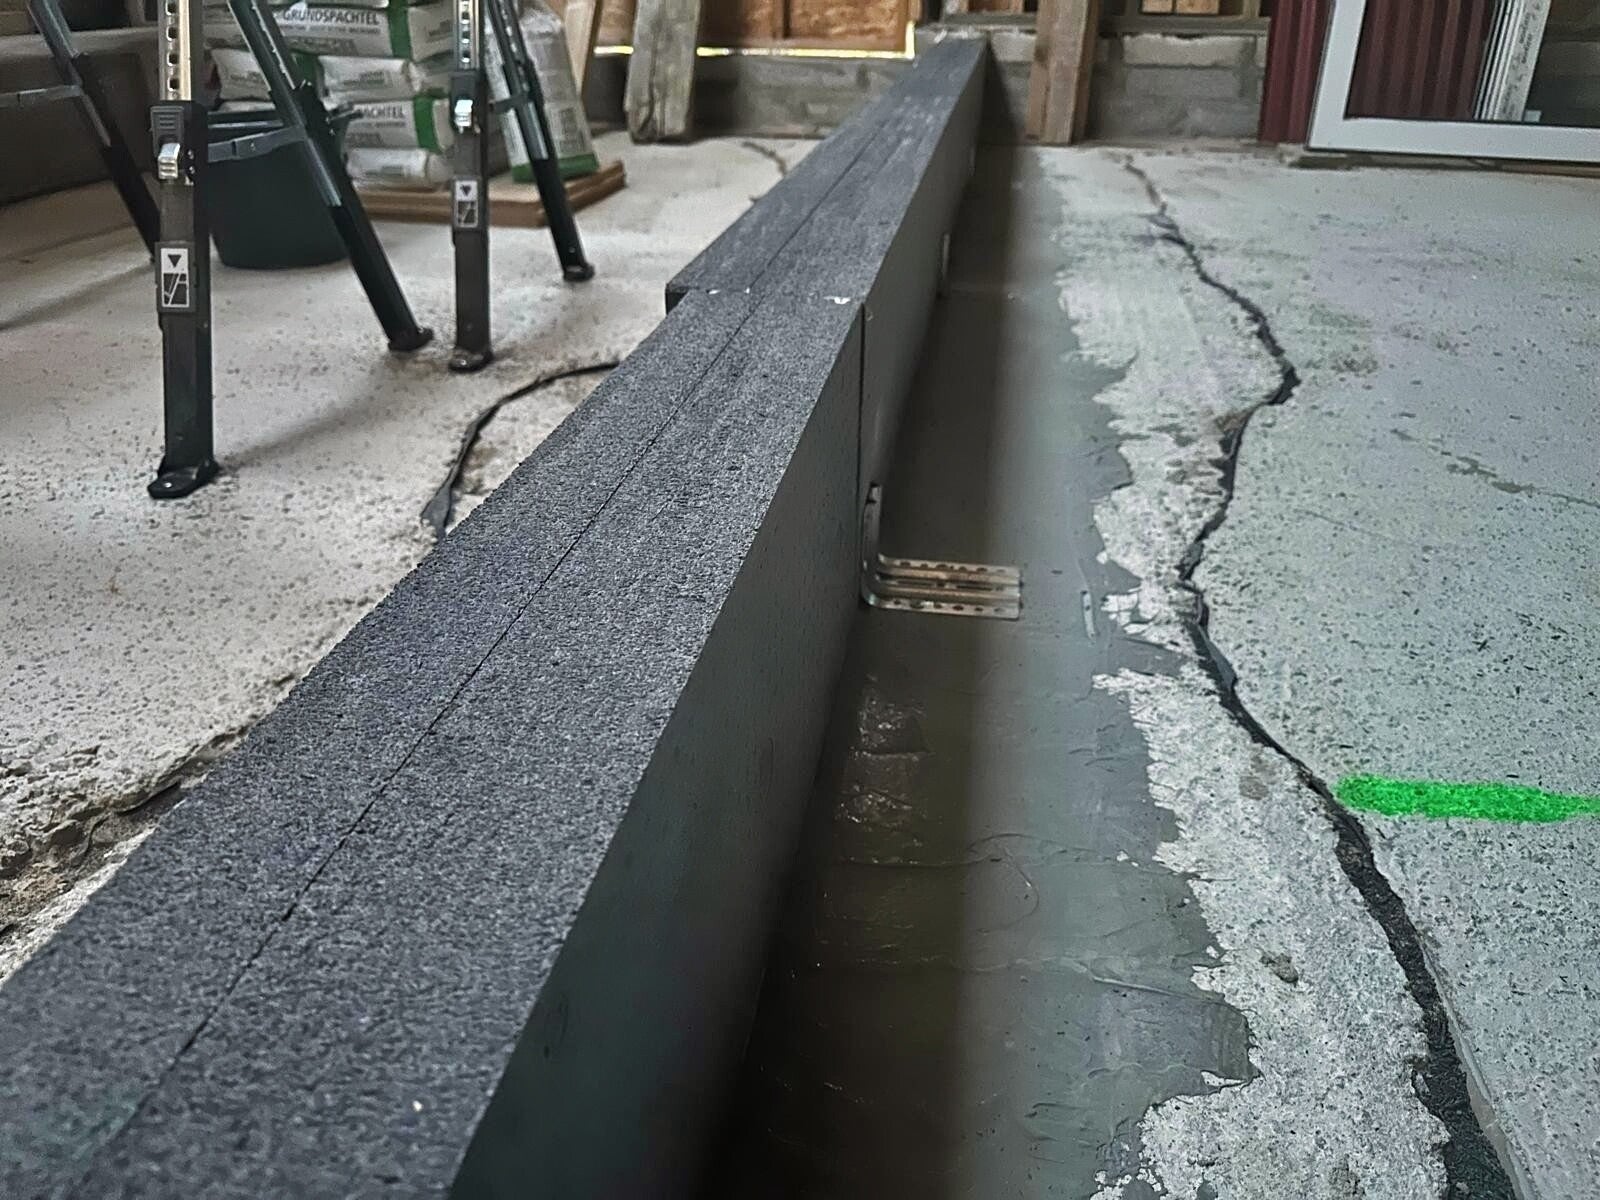
The first Triotherm upstand components have been installed and secured with support brackets towards the inside.
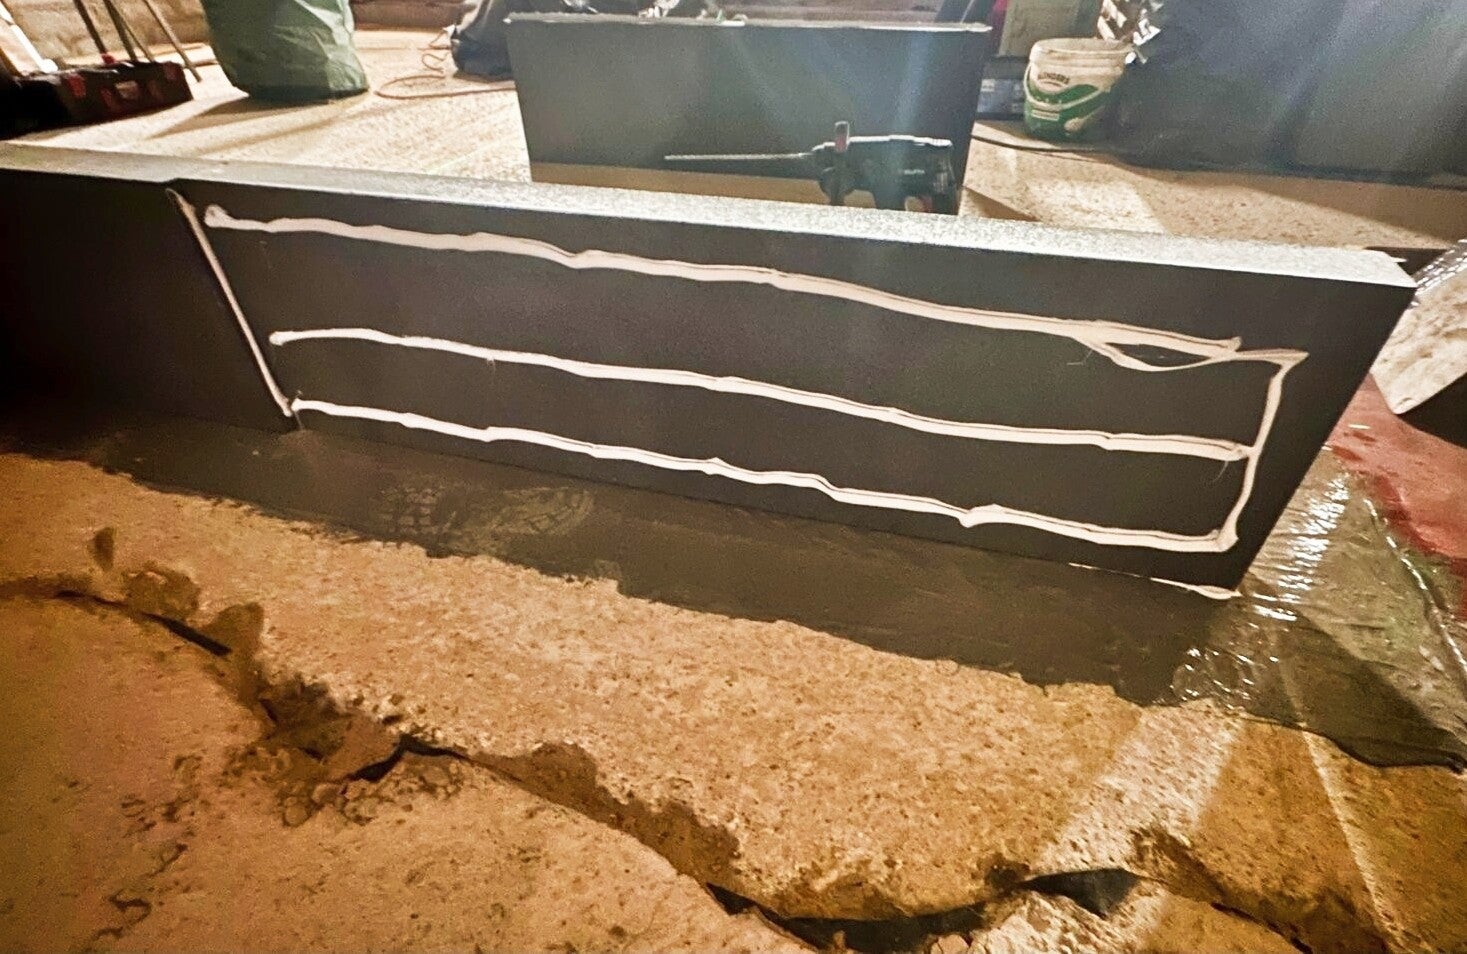
The additional upstand layer has to be glued and mechanically fixed to the first one. The two layers were required as the overall upstand depth is 150mm.
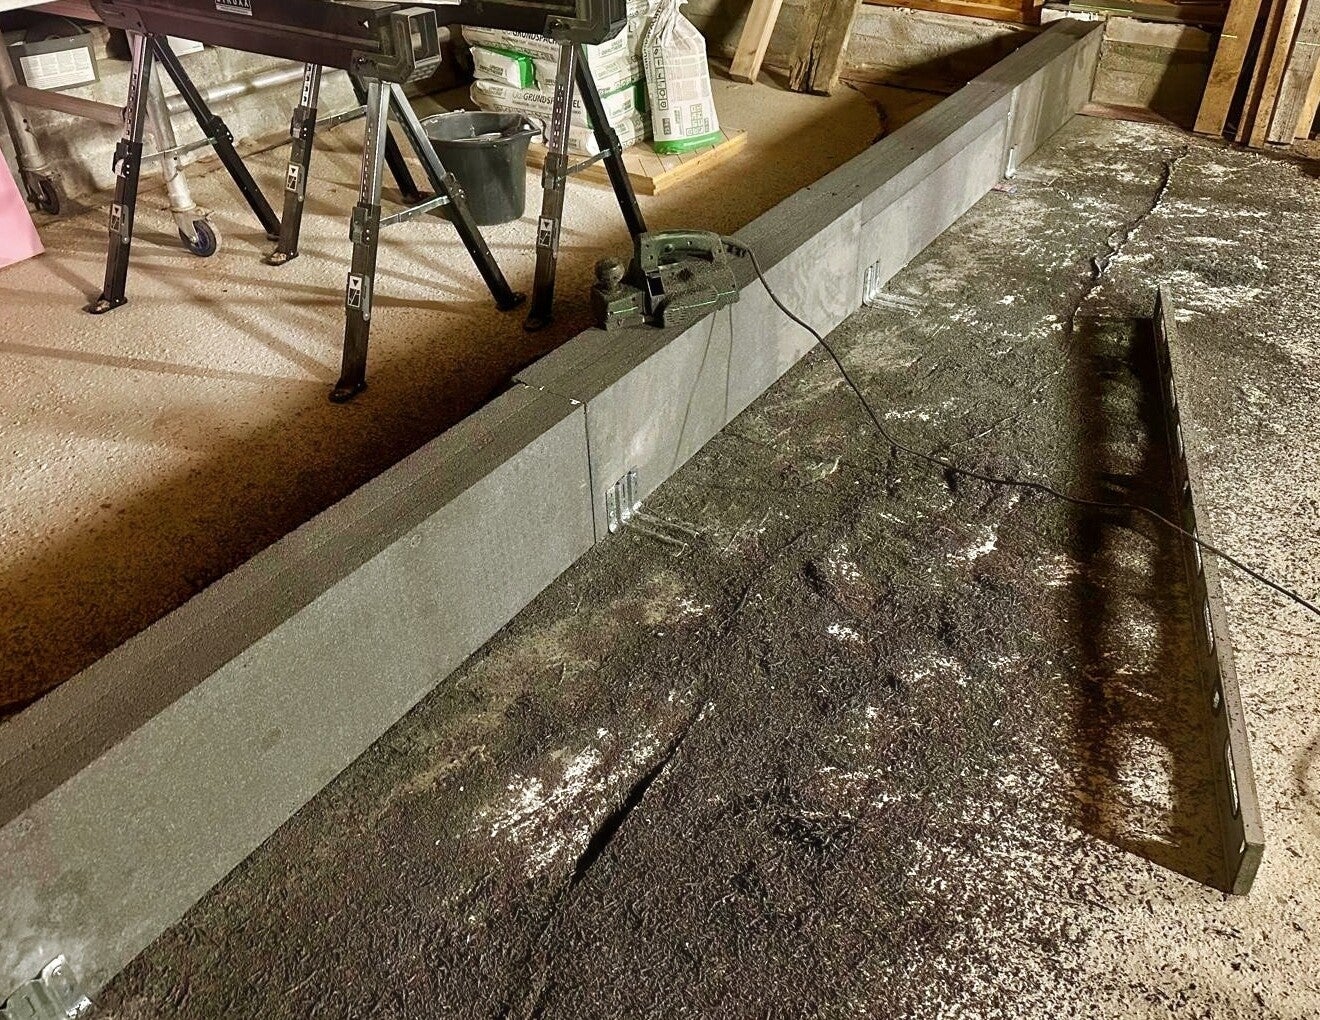
As the subfloor hasn´t been totally levelled, we decided to plane the top of the upstand by using a standard electric planer, to create an even upstand.
This is the finished upstand prior the installation of the sliding door.
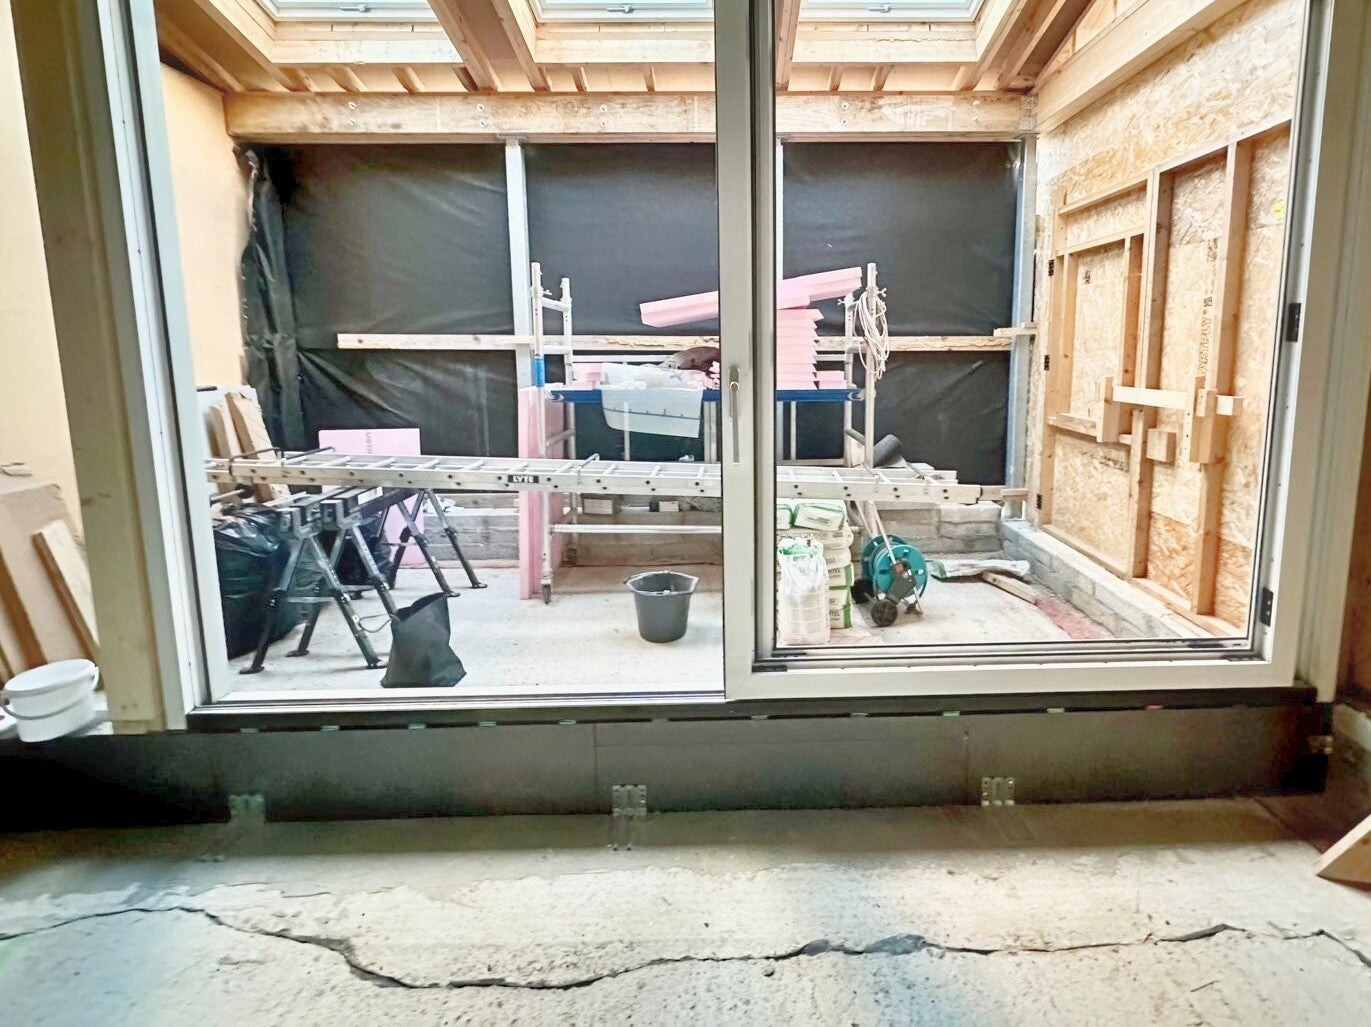
The slider has been installed on top of the upstand. We decided to shim the last 12-15mm by using our HST shims for sliders.
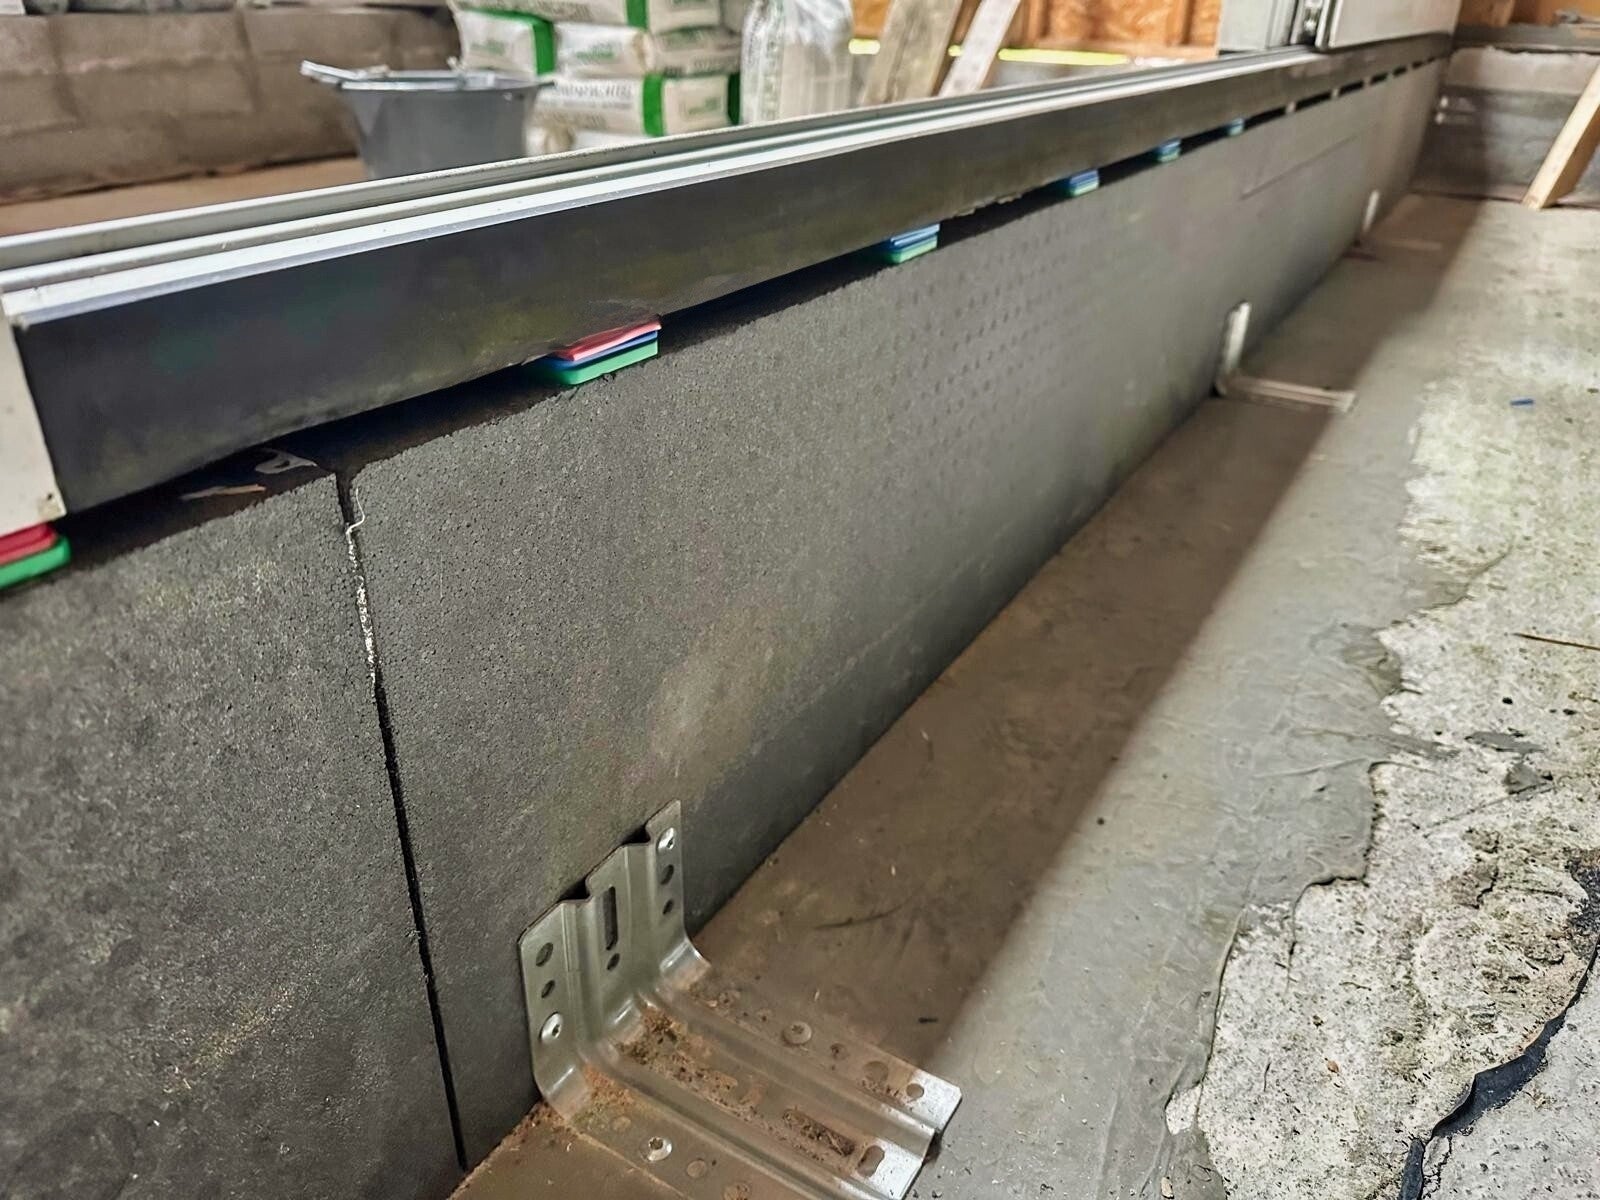
When shimming a sliding door in general, you should place the shims every 400mm centre to ensure the perfect support of the sliding door track. And these shims need to support the full depth of the slider.
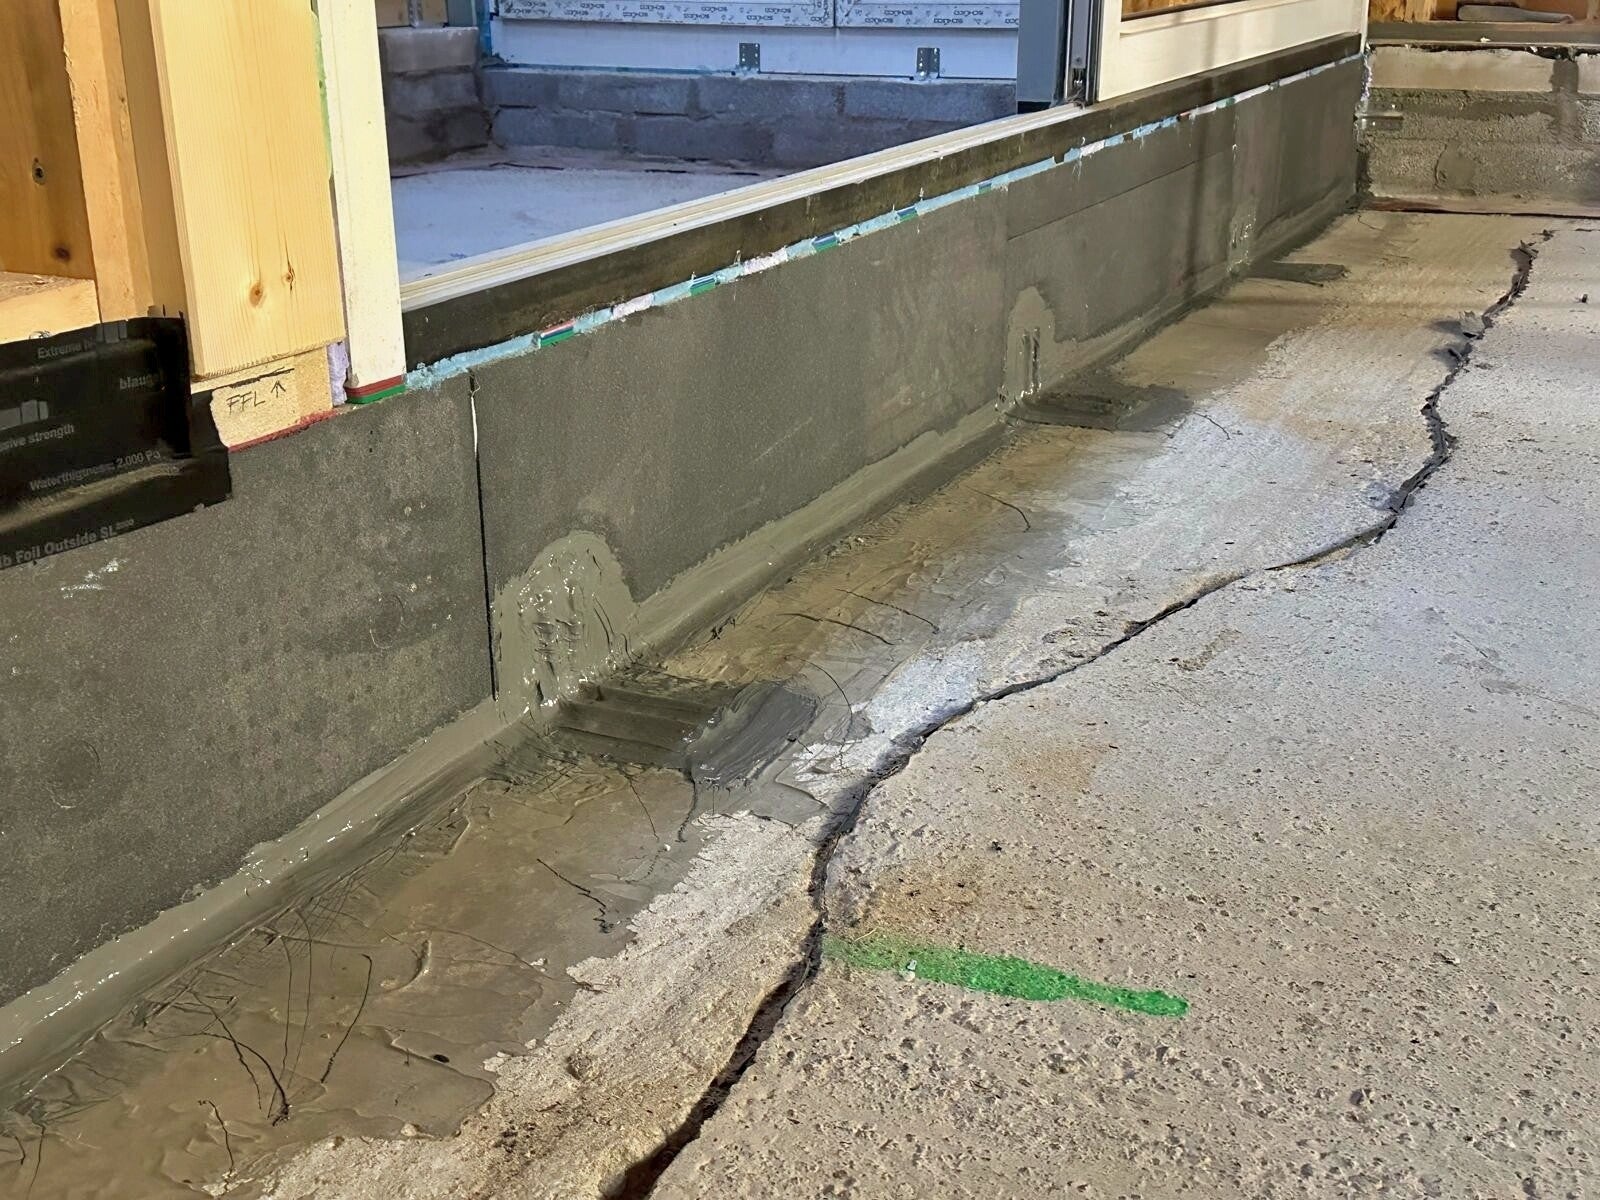
The space in between the shims has been filled with 2 part PU foam and the junction between the Triotherm upstand and the floor has been additionally tanked for Radon protection.
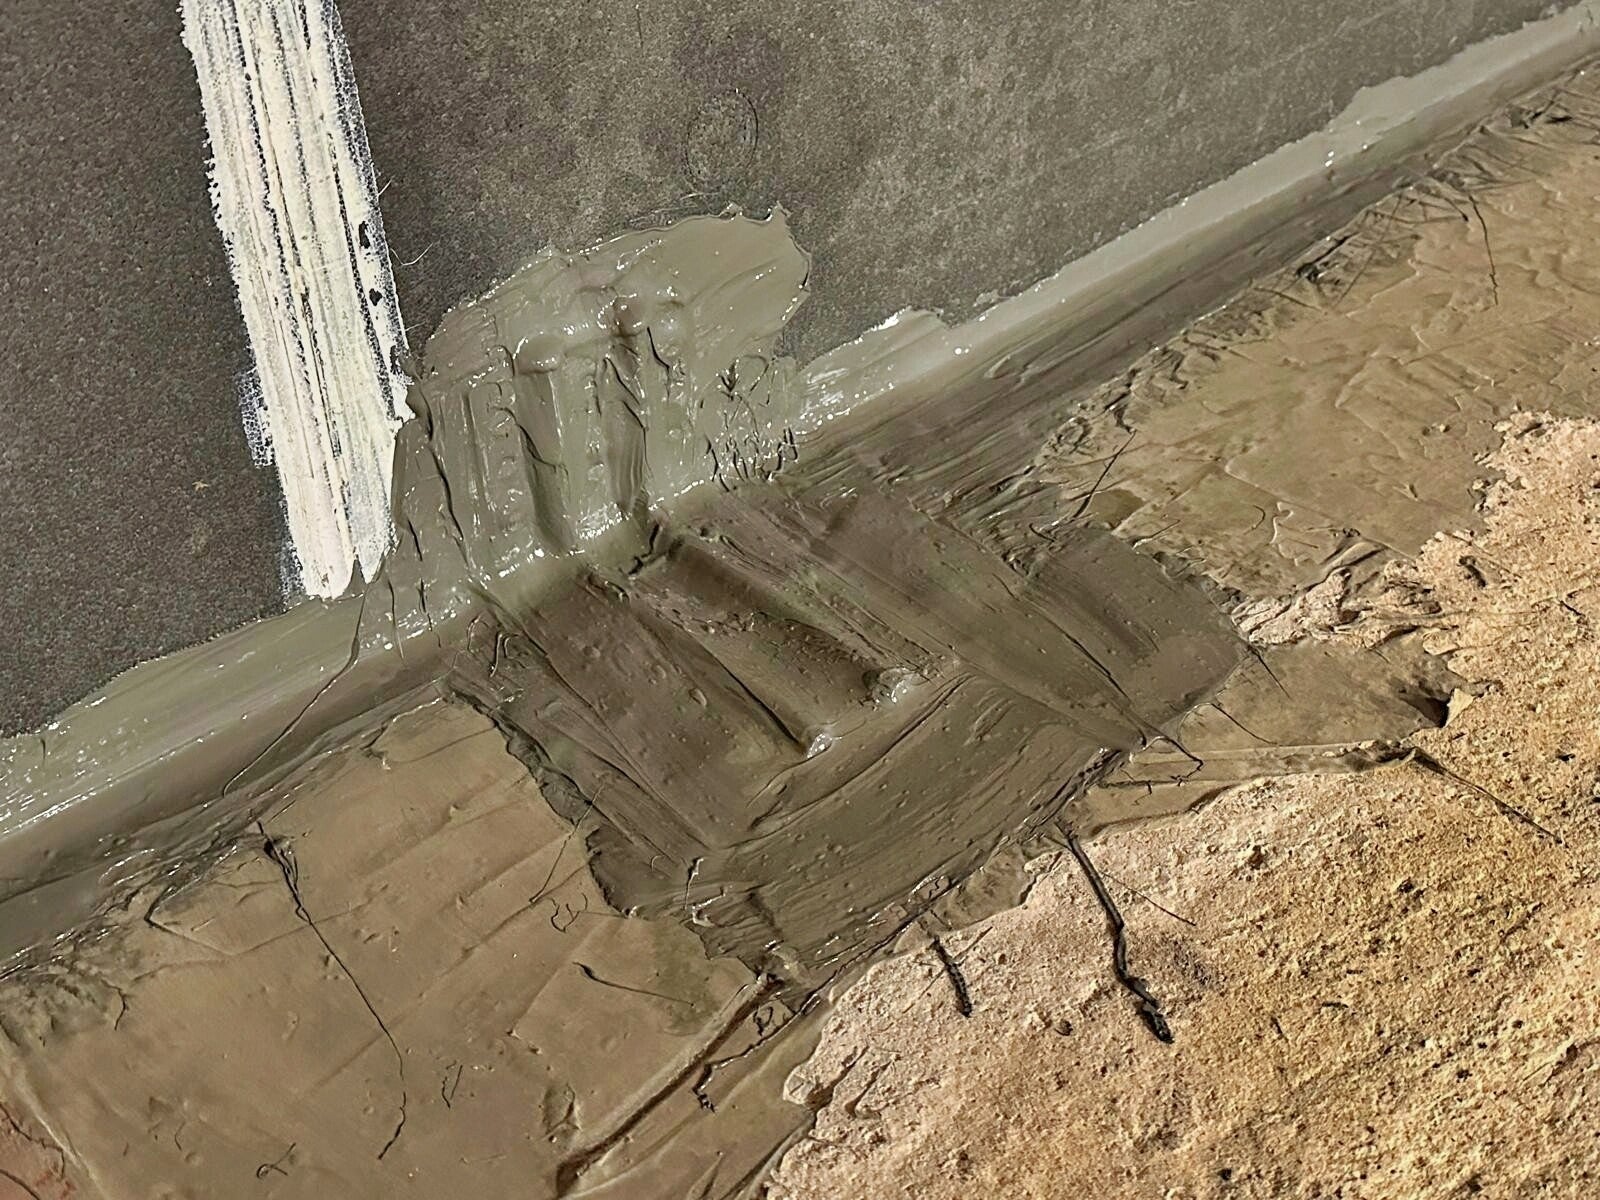
It´s important to have the support brackets completely tanked in regards to Radon protection, as they have to be bolted down into the subfloor and penetrate the initial Radon barrier.
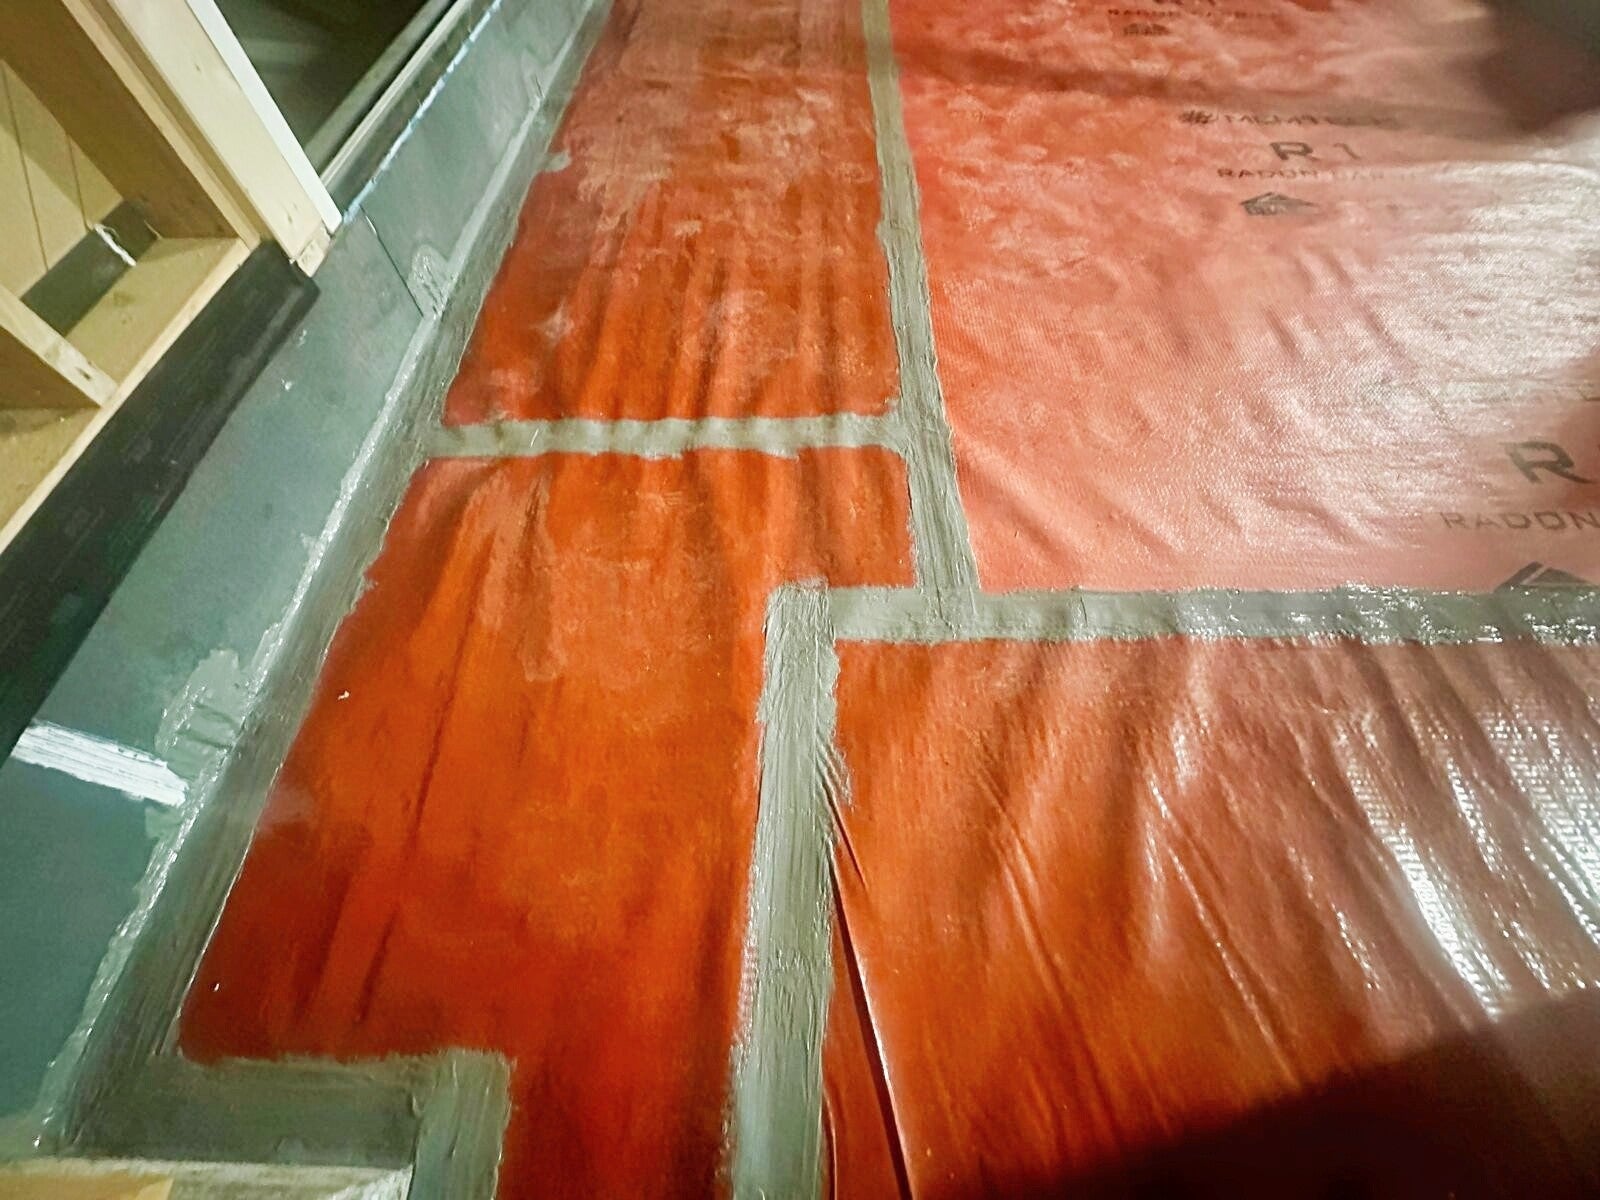
The Radon membrane has been installed and joint to the Triotherm door upstand by having the junction secured with a tape and a complete tanking over afterwards.wards.
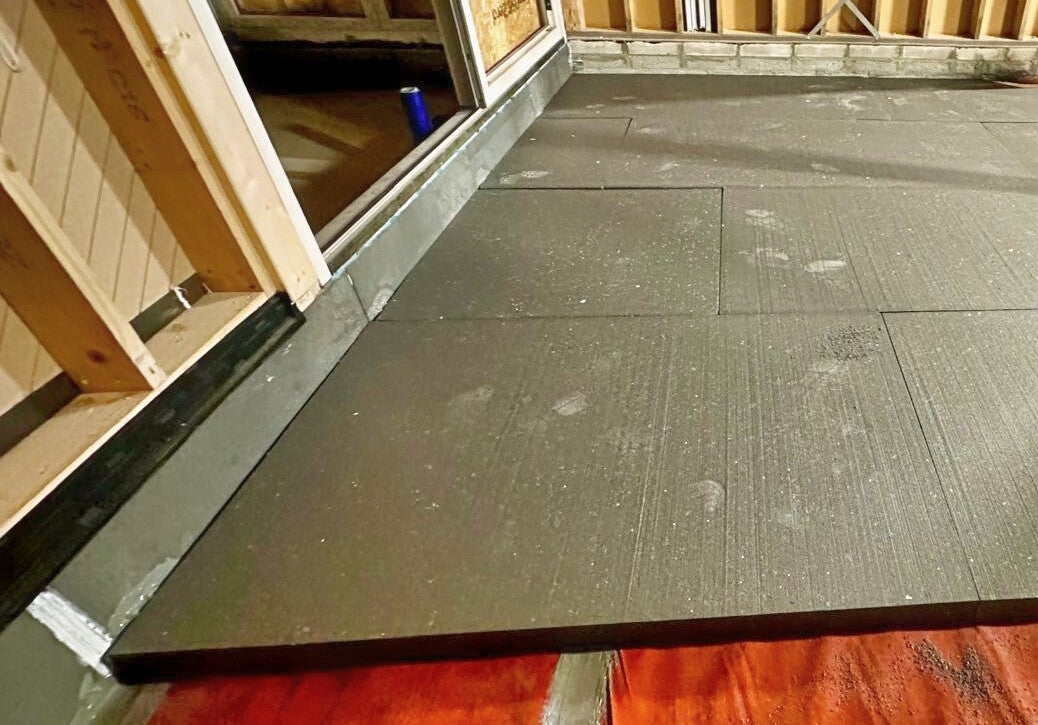
The floor insulation process has been started and the insulation has been brought tight to the Triotherm door upstand.
The finished floor has been poured onto the Triotherm door upstand. Unfortunately you can´t see the insulated upstand any longer but you will value the thermal performance of your Triotherm insulated door upstand every winter.